
Hey, it’s Brook from Blissful Roots again. I’m going to have to jump on the fall bandwagon and say, “I LOVE FALL!” It’s my favorite time of the year. My mom always loved fall, all three of my boys’ birthdays are in the fall, there’s Halloween, pumpkins, apples, leaves, fall baking- what’s not to love? So, today in honor of fall I have a fun autumn art project for you to do with your kids.

I’m not quite sure where I came across this idea, but I’ve been doing it for several years with my boys. Even though they’re getting a bit older, I think they still get a little excited about making this art project every September. Actually what they really love is the squishy, gooey feeling of the paint on their arm, hands, and fingers. We’re usually trying to avoid paint on body parts, but not for this activity. This is a perfect fall art project for kids! You really only need a few things besides your child. SUPPLIES *Craft paint *Poster board *Markers *Scissors
HANDPRINT APPLE TREE CRAFT SUPPLY SUGGESTIONS
&
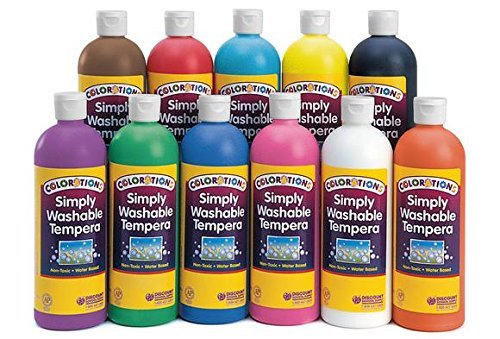
Poster Board – 25 PackColorations Tempera Paint
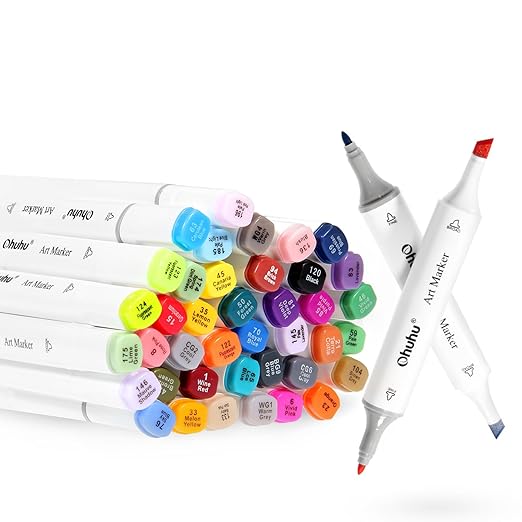
Ohuhu Dual Tip Markers
Fiskars Scissors

PROCESS (I do one child at a time. I go through and do each child’s trunk first, then we let it dry, then we do leaves, let them dry, and finally then apples.) *Cut your poster board. I got a piece of white poster board from Dollar Tree and cut it into thirds (I have three boys). My width was about 9 inches, and it was perfect for my boys’ trees (ages 3 and 6). It was tall for what we needed, but I always wait to cut the top off after we’ve completed the tree. Sometimes the tree turns out taller than expected. *Start with the trunk. Pour brown craft paint on to a paper plate, and rub your child’s forearm in the paint. Once the forearm is covered with paint, help your child move his arm to the poster board and push it down (just like a stamp). When you lift up the forearm you may have a white spot for two. Don’t be afraid to re-stamp. Sometimes we do it three or four times before we get it to look like a trunk. Allow the trunk to dry before moving on. *Next do the leaves. Pour green craft paint on to a paper plate, and rub your child’s hand in the paint. Once again, make sure the entire hand is covered with paint before moving to the poster board to stamp. I usually do three handprint stamps first. We do one on the left side of the trunk, one in the middle, and one on the right. Then, if needed, we fill in white spaces with extra handprints. You may just need three handprints, just see how it looks and then adjust accordingly. Let the leaves dry completely. *Finally, the apples. I do let my boys do this part on their own. They each get a puddle of yellow and red (you can use whatever colors you’d like) paint. Using their index finer, they GENTLY (I have to remind them about this part. They can get a bit rough, and then the apples look like giant blobs, and not apples) go through and do all their yellow apples, then we wipe their finger clean, they do red apples, and then they like to mix colors as well. *Because my boys aren’t too interested in this last step (I believe it’s because there’s no more painting involved), I go through and add little brown stems and green leaves with a marker. This step isn’t necessary, but I love the extra little touch it adds to the apples.

If you begin this art project tradition this year, be sure to save it! I’ve saved my boys trees from years past, and it’s so fun to see how their trees “grow” each year as their handprints grow. And, to go along with your handprint apple trees, here’s a printable apple poem for you. This would be cute hung next to your child’s apple trees.

Thanks so much for letting me take a bit of your time today. Hope you’re enjoying this wonderful time of year! Come and visit me at Blissful Roots anytime. I’ve got a lot of fun things going on for fall. You can check out my September Pinterest Board here, I have a yummy pear applesauce recipe, and you can check out some of my father-in-law’s (Robert Duncan) amazing fall images here. Enjoy your day!
Love apples? Check out these posts!

Apples to Apples ~ The Best Use for Apples Chart
