Greetings from The Wright House! My name is Natalie, and I am blogging about how to host a Decor Swap Party today.

I’m really good at getting rid of excess. Toys, clothes, clutter… when it piles up, out it goes! The only thing I have a hard time letting go of is home decorations. I can’t count how many frames and clocks I have piled up in my garage. I know it’s stuff I will never use, I just don’t want to donate it when it’s still cute and in style. What’s a girl to do?
Decor swap to the rescue!
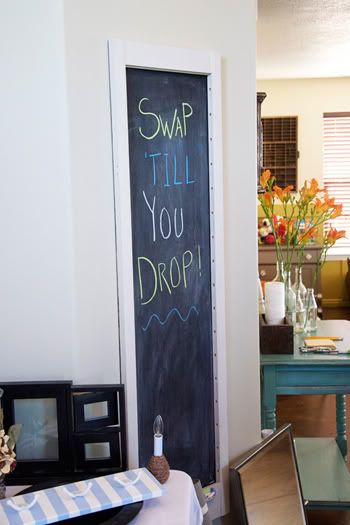
A decor swap is such a fun easy way to get rid of items still usable and in style that you just don’t have room for, and perhaps gain an item or two that you can use in your current home decor.
This last weekend I hosted a decor swap in my home. I chose a weekend evening and invited all my local friends. About twenty attended and each person was required to bring at least two items to swap. They could bring more if they wanted to, but I told them to anticipate taking at least two home.
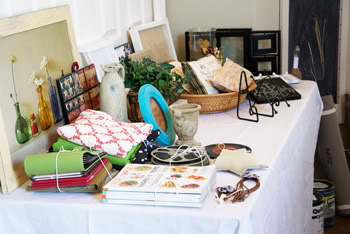
When sending out your invitation be sure to specify what items are acceptable or not. My swap included children’s decor items, but not toys. I also include jewelry and hair pieces, but not clothing or shoes that are specific sizes. Other items I allowed were holiday decor, bedding, scrapbook and other craft supplies.
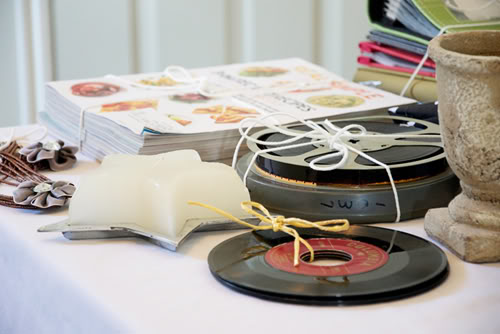
At the swap we ended up with a wonderful array of items like house paint, candles, frames, and vases. Someone brought a tin bread box and it was definitely one of the hot items of the night!
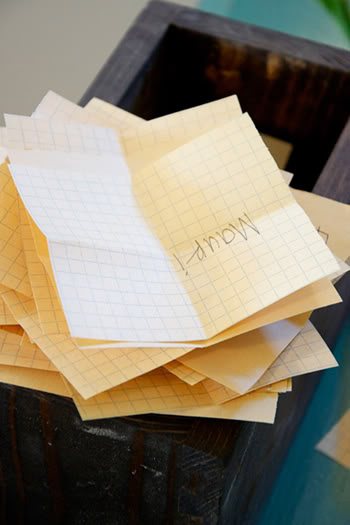
Once your guests arrive you will want to have tables set up for all the swap items to be displayed on. I had three full size tables and it was just enough space for all the items. I also had string, paper, pencils, and a paper punch available. This way items that go together can be tied together, and an explanation can also be written and attached if needed. For example, a friend brought twin size bedding, so she tied the pillow sham to the quilt so everyone knew they went together and counted as one swap item. I also had everyone write their name on a piece of paper and place it in a wood box.
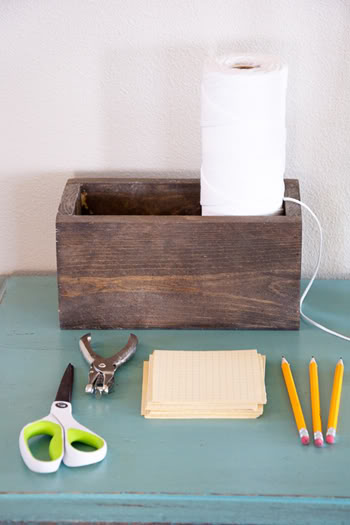
Once the items were ready, and everyone had a chance to look around, the swap was ready to begin! Names were drawn and called four at a time, and those four girls could jump up and grab any one item they wanted.
After three minutes I would call four new names until everyone had a chance to grab an item. Then I started a second round and everyone had the chance to get a second item.
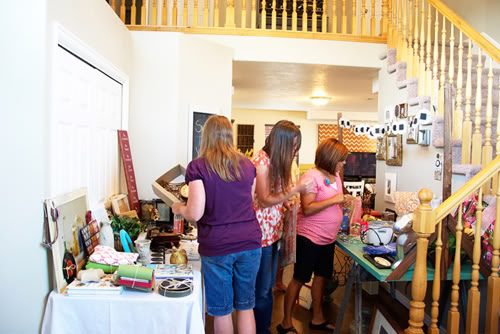
Since many people brought extra items we had four rounds. There were about ten items still remaining after round four, so these items were up for grabs for whoever wanted to go an snag them. When the swapping was done, everyone was invited to stay and visit and share with each other what they snagged.
Some other ways to make swaps fun are to ask the women to share what they brought before the swap begins, or hold up their new items as they snag them.
Although the women at my swap loved their new items, I must say the highlight of the evening was the food!
I pulled out my lunch trays for the gals to eat on, and every one brought a dessert or appetizer to share.
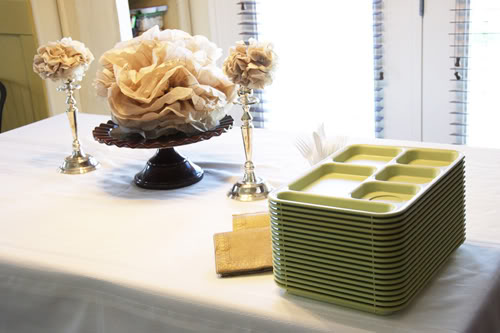
The food was amazing, and the laid back potluck style atmosphere really made the evening fun.
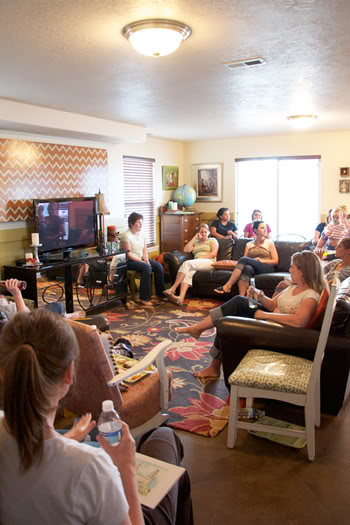
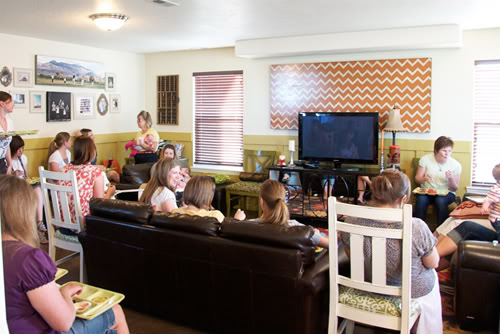
If you plan to host a swap, don’t go crazy with food and decorations. You will be busy helping guests as they arrive so don’t be stuck in the kitchen. You also don’t want to go crazy decorating your home, because you home is going to be filled with decorations. Keep it simple and clean.
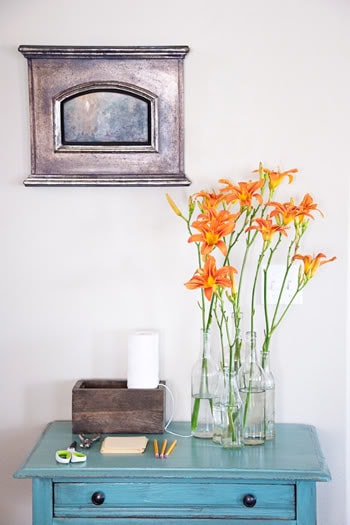
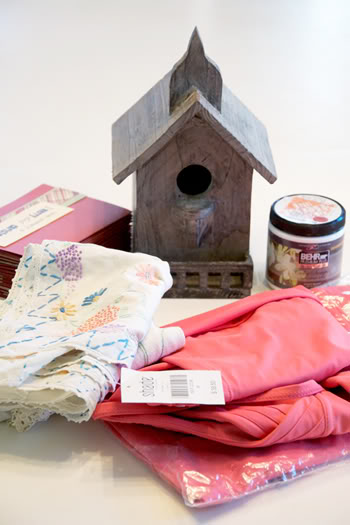
And most importantly- have fun with your new treasures! here’s a peak at mine. I can’t wait to use them and host a swap again!
~ Natalie
It’s a good idea. You can swap various items and come up with new ones.
apartment for rent in makati