
You too can transform your own witch headband into Halloween Minnie Ears at home in just 10 minutes!

Hey everyone, it’s Adelle from Packed with Fun, the official blog of Get Away Today. Halloween Time at the Disneyland Resort has officially begun and I couldn’t be more excited! If you are traveling to Disneyland during the most spook-tacular time of year or just want a cute addition to your holiday costume, these Minnie Ears are a frightfully fun touch to add to your Halloween look.
Minnie Mouse has always been one of my favorite Disney characters. She is not only completely adorable and charming, but also loves to glam it up! That’s why she transfigures her typical polka dot flare into a dazzling, Halloween ensemble during Halloween Time at Disneyland.
These adorable ears are sure to dress up your Halloween look with a bit of Disney magic. The best part is, you don’t have to sew a single stitch. This costume accessory is so easy you’ll scream with excitement!
Here are just a few things you will need:
Witch Hat Headband
Black Wired Tinsel
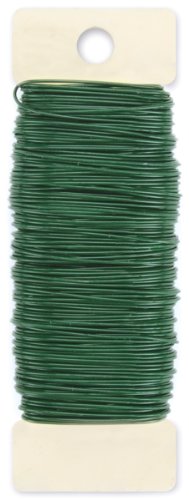
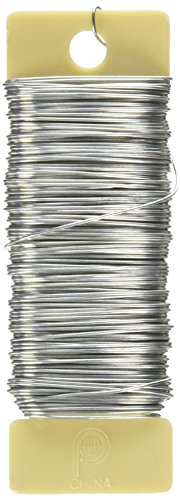
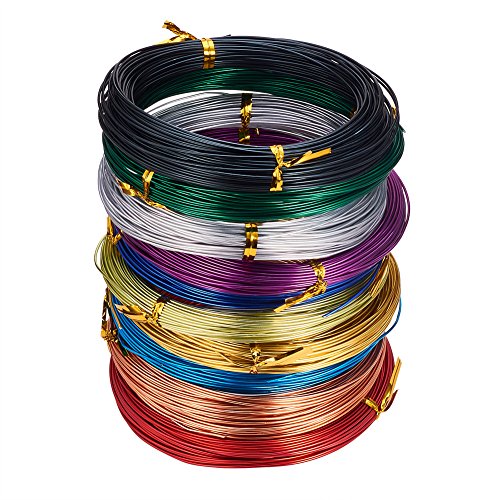
Craft Wire
Glass Cup or Can
Scissors
Wire Cutters
Sticky Black Felt
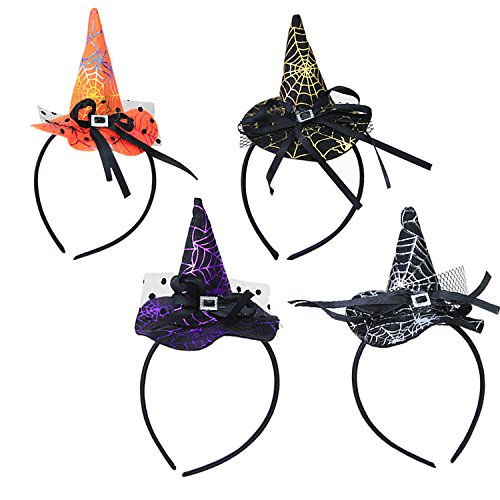
Winzik Children Halloween Headwear Mini Pointy Witch Hat Cute Hair Hoop Hairband Accessories Cosplay Party Props Decoration (1#)UCLEVER Witch Party Hats Halloween Headbands Cosplay Photo Props Party Supplies for Kids and Adults Halloween Costume Party Decoration, Pack of 4
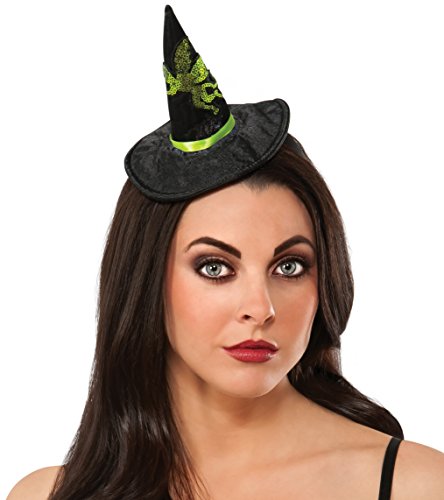
Rubie’s Women’s Wizard Of Oz Wicked Witch Of The West Hat Headband, Black/Green, One Size
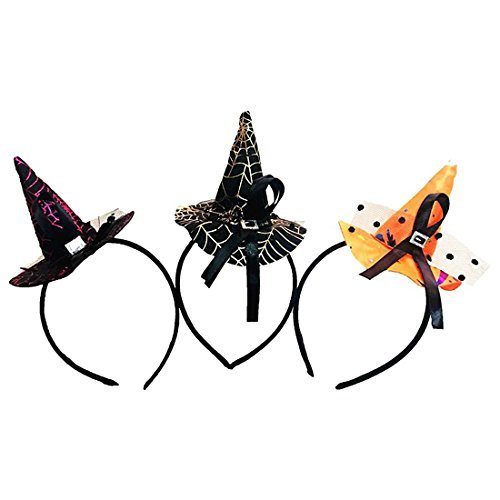
Halloween Deal 3 Pcs, Colorful Witch Hat Headband Fashion Costume Dress up Accessories
Halloween Purple and Black Themed Ribbon with Wired Edges Assortment of 3 Spooky Rolls
Darice Paddle Wire, 22-Gauge, Green
Paddle Wire 22 Gauge 4oz, Bright
PandaHall Elite 10 Rolls Colored Aluminum Craft Wire 20 Guage Flexible Metal Artistic Floral Jewely Beading Wire 10 Colors for DIY Jewelry Craft Making Each Roll 65 Feet
IRWIN VISE-GRIP Multi-Tool Wire Stripper/Crimper/Cutter, 2078309
Caydo 10 Pieces Black Adhesive Back Felt Sheets Fabric Sticky Back Sheets, 8.3 by 11.8
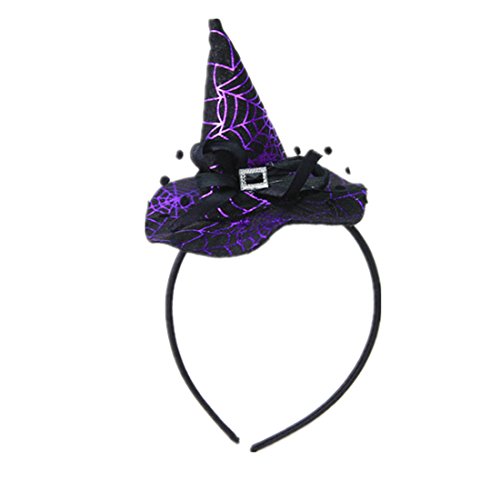
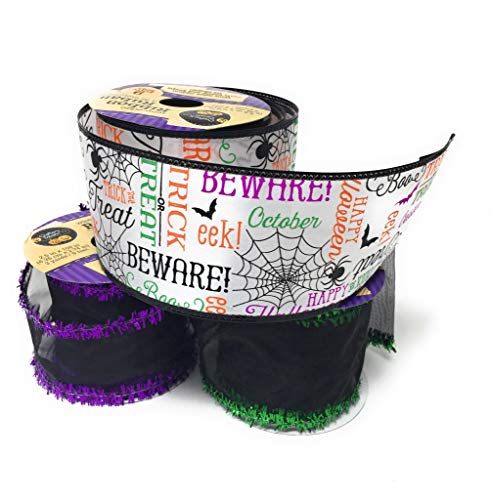
First, start by purchasing any supplies that you don’t already have. I didn’t have a witch hat headband beforehand, so I bought one at my local craft store. The store I went to had a large selection, so you should be able to easily find some that you love. You can also find the black wired tinsel and craft wire at the craft store as well. However, you can also buy any of these supplies online from Amazon or at seasonal Halloween stores. As a tip, make sure that your black tinsel is the wired kind so you can easily manipulate it. I’ve found that the draping kind doesn’t work, so avoid that at all costs.
Once you have all your supplies, use a kitchen glass or tin can as a mold for the wire. Next, you will want to wrap the wire around the glass or can three times. Then, loop the end of the of the wrapped wire around the starting end, to secure everything in place. You will want to be sure to unroll a 15-inch tail at the end of the wire before cutting it with the wire cutters.

Now, pull the loops off of the glass or can you used for the mold. Then, use the 15 inches of wire to wrap around each loop to make them more stable. These are going to be the Minnie ears for your Halloween headband, so you will need to make two.
Next, wrap the black tinsel around the wire loops. You will need about 3 feet of tinsel for each ear, so plan accordingly. Once this is done, wrap the tinsel tightly and push it together so it covers the wire completely. You don’t want any wire peeking through, so your Halloween Minnie Ears can look full and sparkly.

Once you have wrapped the loop entirely, make sure to leave about 5 inches of leader tinsel attached. You are going to need the extra tinsel for the next step. Next, attach the ear to the witch hat headband by wrapping the extra 5 inches of tinsel around it. You will want to wrap this tightly and then tuck the end up in the ear tinsel. You will want to do this so it doesn’t poke your little one’s head when they wear it!

Now, repeat these same steps on the second Minnie Mouse ear. The witch hat headband I chose had the hat attached on the side of the headband. I really liked the way it looked, because it makes it more unique. However, it does add an extra step when adding the second ear. If you get a witch headband with the hat attached to the side like I did, you will have to cut a slit in the hat so it can lay over the ear. But, don’t worry! This is easy to do and only takes a few extra minutes.
To do this, place the ears on the headband. You will want to adjust these until they look centered and even. When you find the perfect spot for the ears, you will want to find the place on the hat that you need to make a slit in.
Next, take your scissors and cut a piece of the hat fabric out. However, it’s important that you keep the piece of fabric you cut-out. This will be used in a later step. You will now want to lay the hat over the ear so it lays naturally. If the fabric on the hat frays, you can always use fray glue to prevent it from getting out of hand.

If you like how your Halloween Minnie Ears look right now, you can leave it just like this. I think it looks adorable! But, if you want a completely finished look, then you will want to add these extra steps.
You will want to cut a small piece of black sticky felt that is just slightly bigger than the piece of fabric you originally cut from the hat.
Now, you will want to peel off the back of the felt so it reveals the sticky side. You will want to place the sticky side of the felt on the underside of the hat brim. The sticky side should now be facing up towards the slit. By doing this, it should cover the hole from the bottom. Then, replace the small hat piece that you cut out earlier and stick it to the felt. If you need a little bit of extra stick, you can always place a little blob of hot glue on the felt before you attach the hat piece back in place.

Your boo’tiful Halloween Minnie Ears are now ready to be worn! Both Disneyland and Walt Disney World are hosting some ear’ily fun Halloween parties during Halloween Time that you won’t want to miss. Mickey’s Not-So-Scary Halloween Party happens in Disney World while Mickey’s Halloween Party happens in Disneyland. You will need a separate ticket from your regular park admission, however, it is sure to be worth it for all of the spook-tacular memories you will have. Both parties include the opportunity to trick-or-treat, meet your favorite villains and enjoy some exclusive Halloween Party entertainment. These celebrations are the perfect opportunity to show off your Halloween Minnie Ears!

You don’t have to visit Mickey’s Halloween Party to have an amazing time at The Happiest Place on Earth, though. The park celebrates Halloween Time with ride overlays, delicious treats and not-so-spooky décor. With so much to do, you won’t want to miss out on all of the fun! Halloween Time at Disneyland kicks off on September 15th and runs through October 31st. Book your Halloween Disneyland vacation online now or by giving our travel experts a call at 855-GET-AWAY. We offer the best deals on discount Disneyland tickets and reduced hotel rates. Don’t wait, the fiendish fun won’t last forever.


Glowing Halloween Costumes – Transform an Existing Dress!

13 Things to Know About Disneyland During Halloween Time
