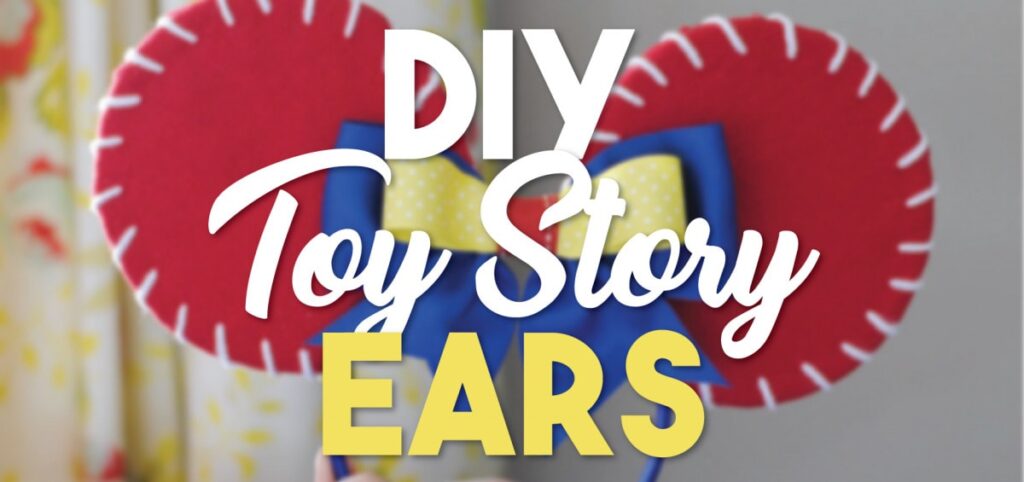
With Pixar Pier’s grand-opening at the Disneyland Resort and the debut of Toy Story Land in Walt Disney World, we couldn’t help but feel inspired to go “Infinity and Beyond” with these inspired DIY Toy Story Jessie Ears. Whether you want to sport them at home or in the parks, this craft is so easy and fun to make!
As mentioned before, Pixar Pier officially opened in Disney California Adventure Park on June 23, 2018. At Pixar Pier, guests can enjoy new attractions, character experiences, dining locations and more. I guess you could say that it has truly become one incredible spot. One of the most popular attractions in this re-imagined land is the Incredicoaster. Here, you’ll be able to help the Incredible family rescue Jack-Jack after he escapes from Edna Mode. With new surprises around ever turn, loop and drop, you’re sure to have a super time.
If you visit Walt Disney World anytime soon, you’ll be able to experience the brand-new Toy Story Land. This area opened on June 30, 2018 and guests have been raving about it ever since. This land was inspired by Woody, Buzz and all of the Toy Story gang. When you enter the area, it truly feels like you’re the size of a toy! While you’re there, make sure you experience the Slinky Dog Dash rollercoaster, Alien Swirling Saucers and the beloved Toy Story Mania! attraction. With new dining options, shopping areas and attractions, this land is one not to be missed on your next visit to the Walt Disney World Resort!
As you can see, there is a lot of Toy Story fun happening at both Disney resorts. Because of this, y’all will want to make sure you make these DIY Toy Story Jessie Ears before you go on your next vacation. I promise you’ll want to “Yee-ha!” once you find out my secret trick to making easy Minnie and Mickey ears. So, round up yer supplies and let’s get “moo-vin” on this adorable craft project that you and the buckaroos will love.
DIY Toy Story Jessie Ears
Supplies:
1/3 yard Red Flannel Material
1 Large Pool Noodle
Red, Yellow and Blue Ribbon
Blue Headband
Scissors
Marker
Yarn Needle
Instructions:
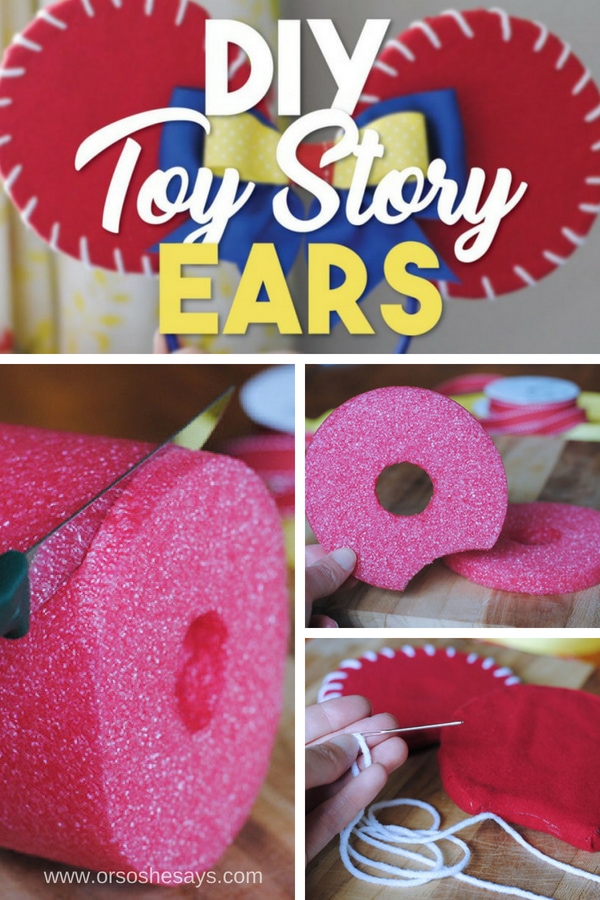
Ever since I discovered this life-changing hack, I have been SO excited to share it with you. Who would have thought that a pool noodle would be the trick to making the perfect Mickey and Minnie ears?! You can easily buy these at Walmart, Target, Amazon or almost any major grocery store. Since there are several different sizes of pool noodles, I would suggest buying the “hefty” large pool noodle. This pool noodle is about 5 inches in diameter. Because the pool noodle won’t be soon, it doesn’t matter what color you buy. However, if you’re making these ears for your little one or toddler, then I would suggest using a standard pool noodle size. By using pool noodles for your DIY Toy Story Jessie Ears, you’ll be able to save SO much money. Plus, they are light-weight, circular and easy to cut. The best of both worlds!
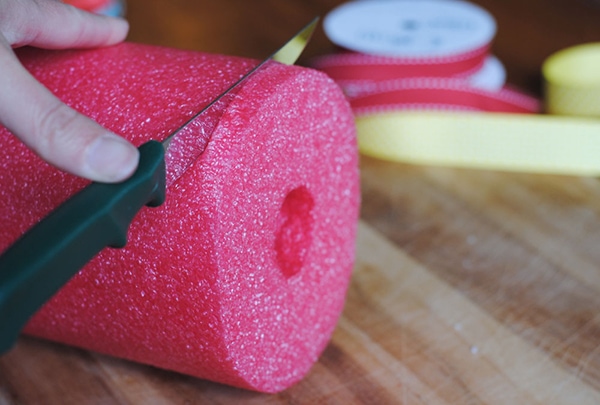
To start making your DIY Toy Story Jessie Ears, you’ll want to start by cutting two circles from the end of the pool noodle. I decided to make them about ½ inch thick. As a tip, a steak knife worked great for slicing!
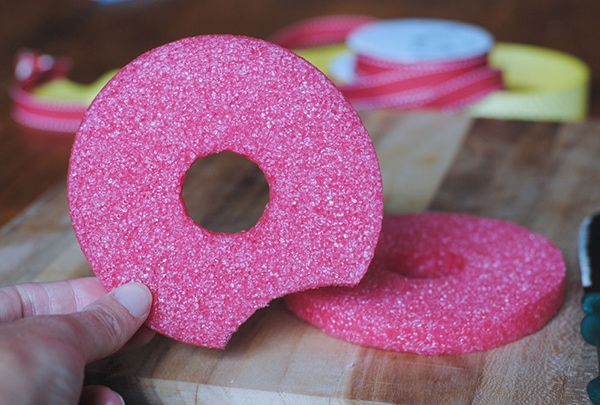
After this, you’ll need to cut a small half-moon shape from the bottom of each pool noodle circle. You’ll want to use your headband as a guide to see what angle to cut out.
Now, you’ll want to place the circles onto the red flannel fabric. You can use a market to trace the pool noodle circle one time. After this, you’ll want to move the circle to a new spot on the fabric. Once you do this, you’ll want to use a market to trace around the circle a second time, but this time, make a ¾ inch border around the entire edge. You will need to repeat this step for each ear. By the end, you will have traced two small ear patterns and two large ear patterns.
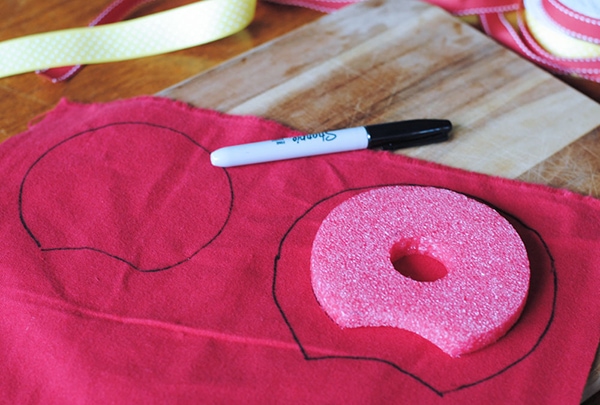
Once you do this, you’ll want to cut out the shapes from the fabric. Luckily, the flannel fabric should not fray. Yay!
If you have any wrinkles in the fabric, I’d recommend ironing them out. Once you do, plug in your hot glue gun and get the glue ready.
Now, you’ll want to place the pool noodle circle onto the larger piece of fabric. At this point, you will need to add about an inch-long strip of hot glue along the edge of the foam circle. Then, you’ll wrap the fabric around and press it into the glue.
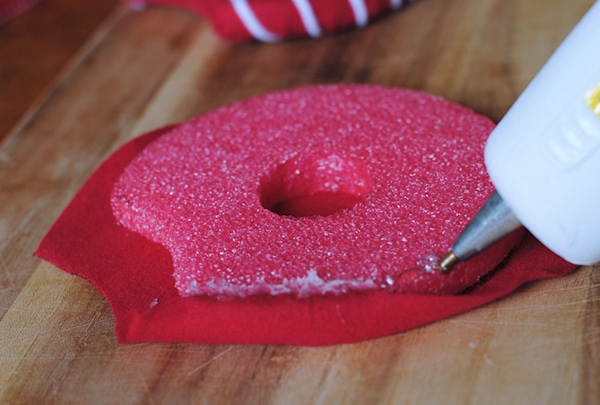
Keep pressing and gluing until you have gone around the entire circle.
After you do this, you will need to add a thin layer of hot glue around the top edge of the foam circle. You will then need to quickly place the smaller piece of fabric onto the glue and secure it in place. Repeat each of these steps for the second ear on your DIY Toy Story Jessie Ears.
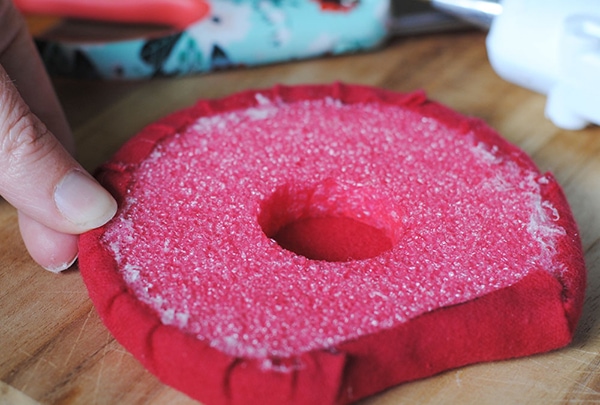
Now, the fun can start! At this point, you can start making the ears look like Jessie’s cowgirl hat. If you feel inexperienced at stitching, don’t fret! It is SO simple. You’ll just want to thread a yarn needle with white yarn. You’ll only need about a yard of yarn for each year, so two yards total.
To stitch, you’ll want to send the needle through the fabric and pool noodle ear from the back of the ear to the front in the low corner. Once you do this, you need to pull the yarn all the way through until you have about an inch leftover. Then, you’ll tie a knot and trim the excess string from the knot end.
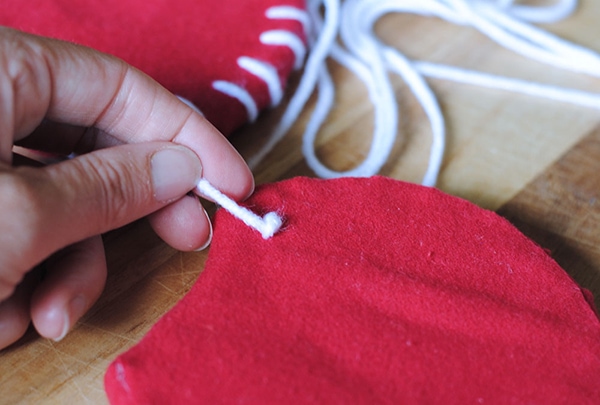
You can then sew the yarn in a circular pattern by sticking the needle in the front of the ear and pulling it through the back. You will need to work all the way around the edge of the ear. If you can, try to keep the stitches even.
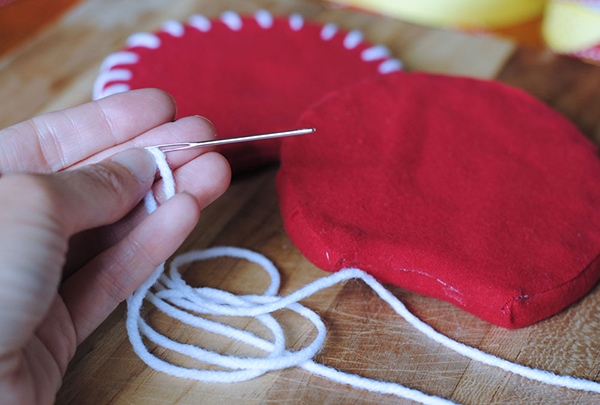
When you get to the end, make sure to tie the yarn off in the back and trim the excess. Make sure to repeat the steps on the second ear.
Now, you have two of the most darn’ tootin’ cute DIY Toy Story Jessie Ears in the land!
Lay them out on a tape with your headband to center the ears. You’ll want to place them where you feel they look best. I noticed that you need to have the ears further apart than you might think, because the headband spreads open when you’re wearing it. I moved mine farther apart after I took this photo!
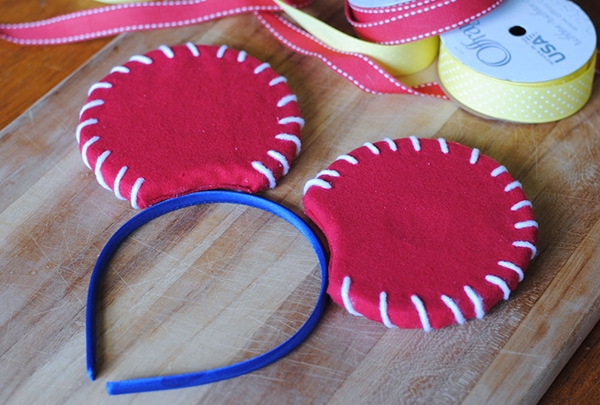
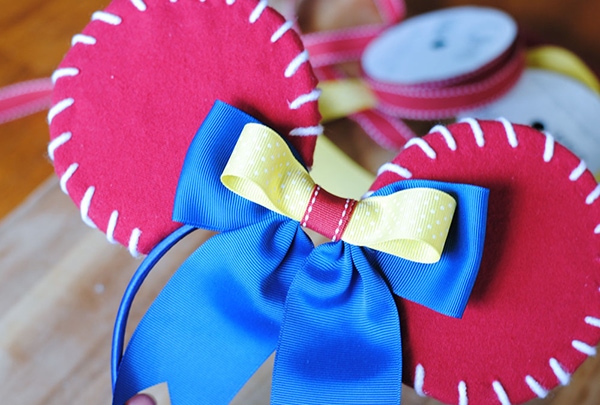
Once you find the perfect spot, you’ll want to glue the ears onto your headband with the hot glue. Then, you can decorate them with a ribbon bow. I decided to buy a pre-made blue bow at the store, however, you can make your own if you want. After this, I added some yellow polka dot and red striped ribbon to match Jessie’s outfit.
What’s great is that you can make the bow however you want! I cut a 5-inch section of yellow polka dot ribbon, made it into a loop and secured the ends together with a dot of hot glue.
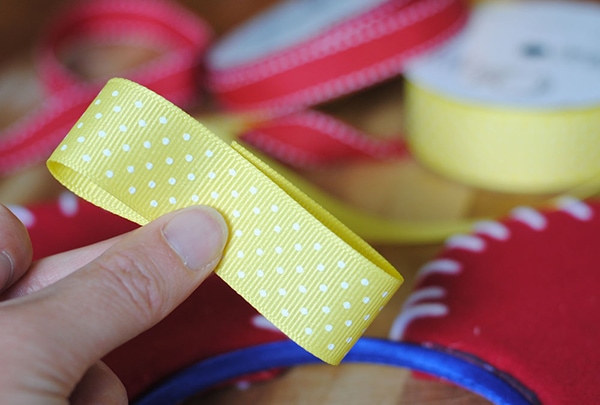
I decided to put the yellow ribbon loop on top of the blue bow. Next, I wrapped a short piece of red ribbon around the center of the yellow ribbon, blue bow and headband. As a tip, make sure to pull the ribbon tight. Then, I placed a dot of hot glue on the back of the headband and the red ribbon to keep everything in place.
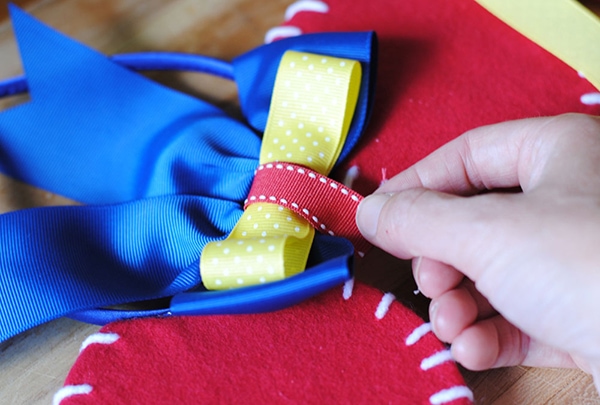
Viola! Your DIY Toy Story Jessie Ears are now complete. Did you ever think that making your own ears could be so easy and fun? Plus, the ears are so light and comfortable for those fun-filled Disney days.
To plan your next vacation to visit Pixar Pier at the Disneyland Resort or Toy Story Land at the Walt Disney World Resort, make sure you book with Get Away Today. With discount tickets, hotel specials and more, I promise you won’t regret it!
To book, visit getawaytoday.com or call one of their travel experts at 855-GET-AWAY. Don’t forget to mention that Or So She Says sent you and use Get Away Today promo code OSSS10 for an additional $10 in savings.
Have you subscribed to the ‘Or so she says…’ newsletter yet? We send out emails with more great ideas, and your first one will include Mariel’s five FAVORITE recipes from the blog. You can sign up by clicking HERE.
If you liked this post, check these out: